Summary
To get the most out of Marketo and PathFactory, you’ll need to set up Marketo’s API. The API allows you to send page view data from PathFactory directly to Marketo. It also helps with visitor identification in certain scenarios.
Once the API is set up, you can set up additional features, such as the form submission API and custom object integration.
|
Note
|
If you want to export all available PathFactory data to a data warehouse, PathFactory offers the ability to create Public API keys. |
|
Warning
|
Marketo has a Daily Quota for the number of API calls that can be made to Marketo. The setup below will result in API calls being initiated each time a visitor engages with a PathFactory asset. |
Prerequisite
In order for the Marketo API Integration to work successfully in PathFactory you must have a custom subdomain. That is, your PathFactory content tracks must live at a subdomain like example.yourcompany.com (not company.pathfactory.com).
Set up Marketo API
This section outlines the steps needed to set up the Marketo API connection between PathFactory and Marketo:
- Create a LaunchPoint service.
- Enable Munchkin.
- Connect PathFactory to your Marketo account.
Step 1: Create a LaunchPoint service
- In Marketo, create a dedicated API only user, if you do not have one already.
Note
This is different from your Marketo user/email address. 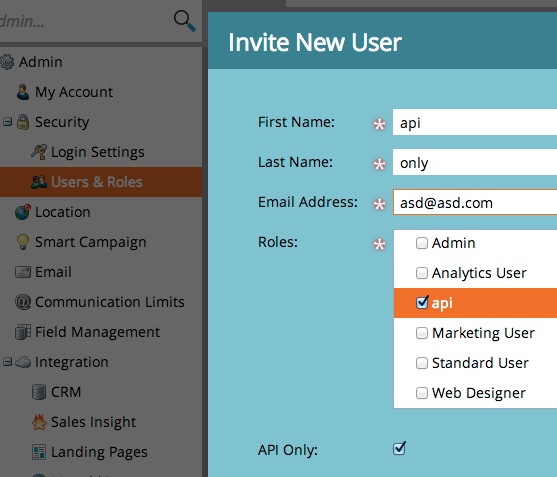
Marketo api user window - Create a new LaunchPoint service. Select Custom for the service Type.
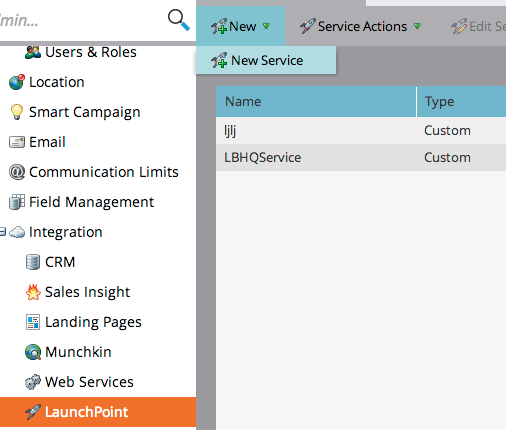
LaunchPoint service view - From the list of LaunchPoint services, go to “View Details” for your newly created service.
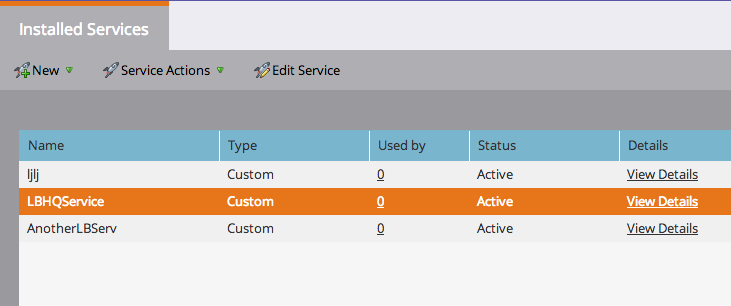
LaunchPoint service details - Make note of the LaunchPoint Client ID and Client Secret values. You’ll need these values in a later step.

Marketo client ID
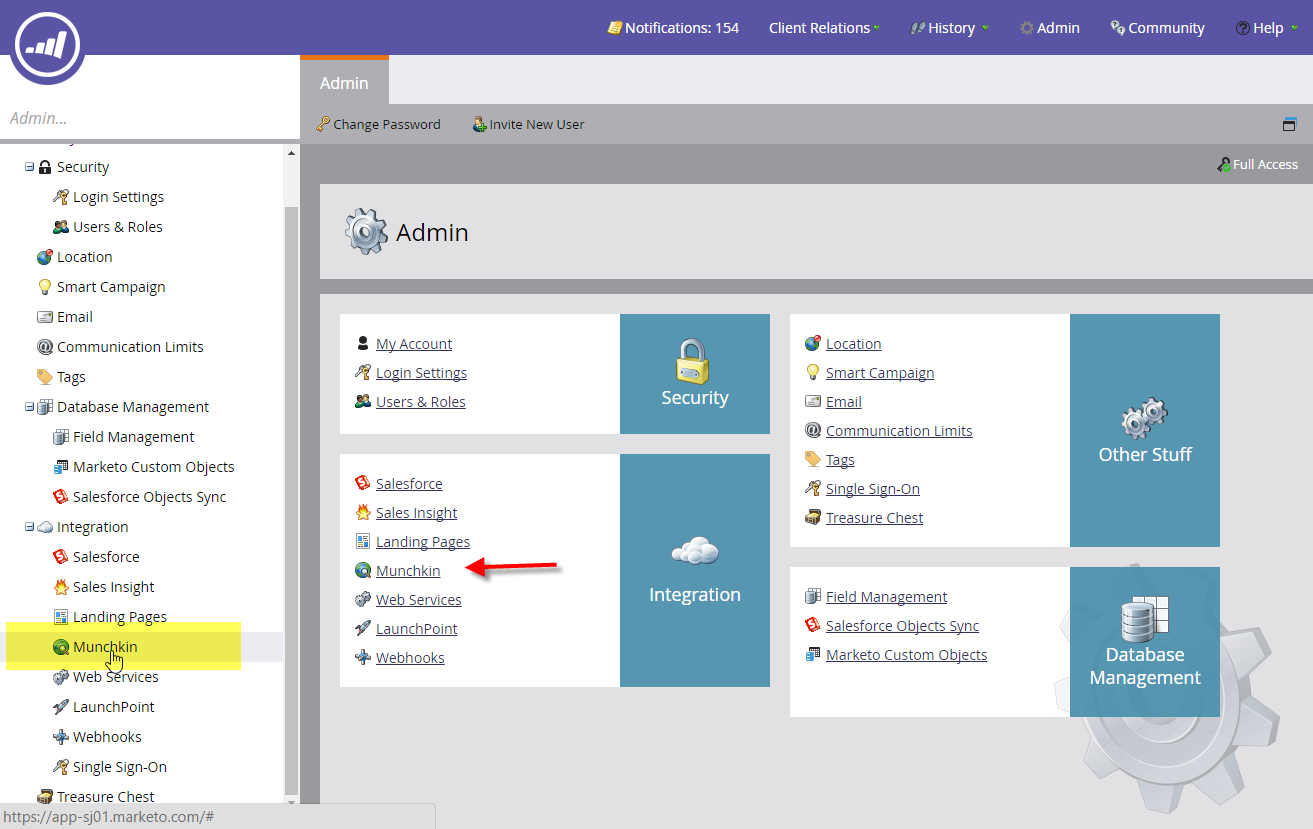
Step 2: Enable Munchkin
- In Marketo, navigate to Admin Settings > Integration > Munchkin.
Marketo munchkin - Tracking Code: Note the Munchkin Account ID value. You’ll need this value in a later step.

Munchkin account info - API Configuration: Click Edit and ensure that “Enable Munchkin API” is selected.
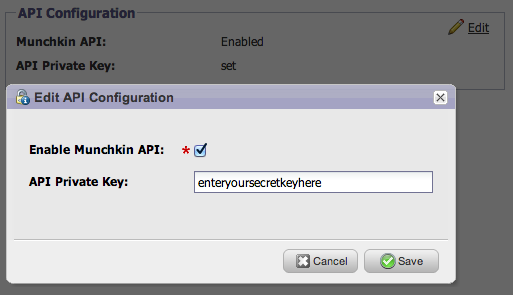
API key field - Lead Tracking (Optional): Whatever settings you have here (based on your company’s website visitor tracking policy, if any) will apply to the tracking of your PathFactory engagement data in leads’ browsers.

Tracking preferences
Step 3: Connect PathFactory to your Marketo account
You must have administrative privileges for your PathFactory instance to complete this step.
- Log in to your PathFactory account.
- In the top right, select your user name menu and select Organization Settings.
- Select Marketo Account on the left menu, enter the Client ID, Client Secret and Munchkin ID values you retrieved earlier and click Save.
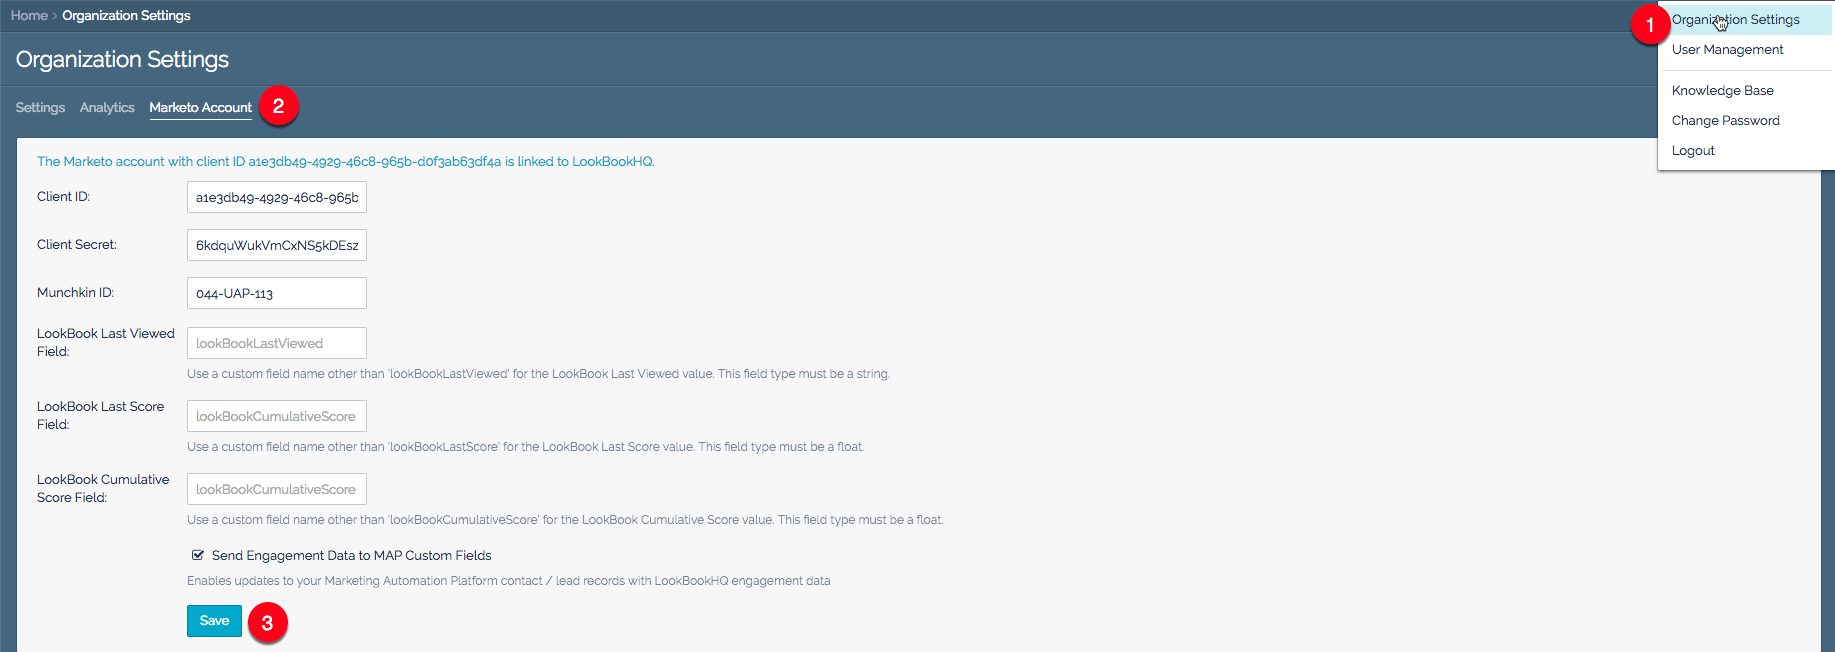
Marketo account information retrieval - You should see a confirmation message when the credentials are authenticated successfully.